MDX Embedded Images
In this post i’m going to show you how to use MDXRenderer to display embedded images in the body of your MDX by sourcing
them from frontmatter.
This approach differs from the more common approach of adding a “featured image” … and here’s why 👇
- A featured image is usually baked in to the layout component in JavaScript and always appears in the same position on the page in every post.
- An embedded image can be positioned anywhere throughout the body of the MDX giving you more flexibility and control overs images on a post by post basis.
Whilst you can achieve something similar using an <img /> tag and absolute or relative URLs this method will process
the images using gatsby-image, gatsby-plugin-sharp and gatsby-transformer-sharp to keep your blog blazing fast! ⚡
Since there’s so many ways a Gatsby project could be setup rather than explaining what should go in what “file” i’ll be focusing on explaining the concept. If you need a little more guidance i’ve made a bare bones repo which you can see on GitHub PaulieScanlon/mdx-embedded-images and most things i’ll be explaining in this post can be seen in the post-layout.js file
Before we start just check you have the following dependencies installed to process the images.
yarn add gatsby-image gatsby-plugin-sharp gatsby-transformer-sharp
And make sure you add the following to gatsby-config.js
module.exports = {
  plugins: [
    // the rest of your plugins
    `gatsby-transformer-sharp`,
    `gatsby-plugin-sharp`,
  ],
};
Ok let’s start with frontmatter, you’ll probably have a title already so add one more field below it called
embeddedImages
EmbeddedImages is a list of files you’d like to access from anywhere in the MDX body.
// test-post.mdx

---
title: Lovely stuff!
embeddedImages:
- image1.jpg
- image2.jpg
---
The images referenced in this example sit in the same directory as the .mdx file but you could source them from
anywhere.
If your directory structure differs from the below code snippet your GraphQL query will be different to the one i reference later in the post
You can see the bare bones repo directory structure here: PaulieScanlon/mdx-embedded-images/tree/master/src/posts
| -- src
  | -- posts
    | -- test-post.mdx
    | -- image1.jpg
    | -- image2.jpg
Now we need to amend the GraphQL query that handles getting the title from frontmatter by adding an embeddedImages
query with a child childImageSharp query, you can use original or fluid or anything childImageSharp supports.
I’ve also added an image quality of 90% for good measure.
// post-layout.js

frontmatter {
  title
  embeddedImages {
    childImageSharp {
      original {
        width
        height
        src
      }
      fluid(quality: 90) {
        ...GatsbyImageSharpFluid
      }

    }
  }
}
Next we need to make sure we can access this data in Javascript. Typically you’ll have a data prop in the layout
component where you’re accessing frontmatter so add the embeddedImages field to that so we can use it later
// post-layout.js

data: {
  mdx: {
    body,
    frontmatter: { title, embeddedImages }
  },
}
Next we need to add a prop to the MDXRenderer, call it embeddedImages
<MDXRenderer embeddedImages={}>{body}</MDXRenderer>
Now it’s time for some Functional Programming! 😎
We’re going to take the data from the embeddedImages frontmatter and
reduce it in to
something more usable.
If you’re a bit lost at this point here’s the post-layout.js for reference
// post-layout.js

const IMAGE_KEY = 'image';

const embeddedImagesByKey =
  embeddedImages &&
  embeddedImages.reduce((images, image, index) => {
    images[`${IMAGE_KEY}${index + 1}`] = images[`${IMAGE_KEY}${index + 1}`] || {
      ...image.childImageSharp,
    };
    return images;
  }, {});
We should end up with the following object.
For brevity i’ve removed parts of the image values but you can see that for each image found in embeddedImages we
create a new key in the embeddedImagesByKey object called “image”, plus a number e.g “image1”. Within each key is
the result of spreading ...childImageSharp which contains data for original and fluid, which are the fields we
queried earlier in GraphQL… phew 😓
{
  "image1": {
    "original": {
      "width": 640,
      "height": 360,
      "src": "..."
    },
    "fluid": {
      "base64": "...",
      "aspectRatio": 16:9,
      "src": "...",
      "srcSet": "...",
      "sizes": "..."
    }
  },
  "image2": {
    "original": {
      "width": 640,
      "height": 460,
      "src": "..."
    },
    "fluid": {
      "base64": "...",
      "aspectRatio": 16:9,
      "src": "...",
      "srcSet": "...",
      "sizes": "..."
    }
  }
}
Now we need to pass the embeddedImagesByKey object on to the MDXRenderer.
// post-layout.js

<MDXRenderer embeddedImages={embeddedImagesByKey}>{body}</MDXRenderer>
With this all sorted we will have a prop called embeddedImages available in the body of our MDX 🎉
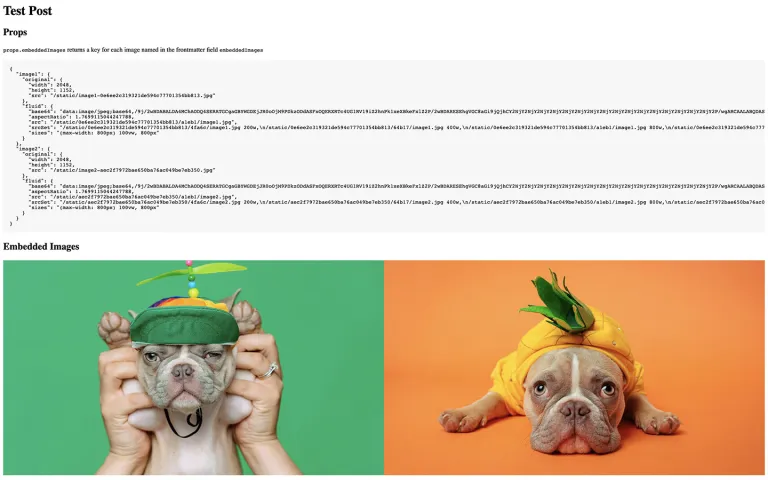
To test this is working correctly use JSON.stringyify to render the result of embeddedImages in a <pre> and
<code> tag in the .mdx file where you added embeddedImages to frontmatter
// test-post.mdx

<pre>
  <code>{JSON.stringify(props.embeddedImages, null, 2)}</code>
</pre>
We’re nearly there!
I like to use @theme-ui/components in all of my Gatsby projects and an easy way to give MDX access to these components is to pass them to the MDXProvider
And to take advantage of gatsby-image we can also pass the <Img /> component on to the MDXProvider
// post-layout.js

import * as ThemeUIComponents from '@theme-ui/components';
import Img from 'gatsby-image';

const components = {
  ...ThemeUIComponents,
  Img,
};

<MDXProvider components={components}>
  <MDXRenderer embeddedImages={embeddedImagesByKey}>{body}</MDXRenderer>
</MDXProvider>;
Now that you have Theme UI components available in your MDX you can use the <Flex> and <Box> components to create
more interesting layouts without having to import them first.
In this example we’ll position two images side by side on “desktop” and stack them on top of one another on “mobile”
There’s more information about breakpoints in the Theme UI docs but in short
width can accept an array of values and each corresponds to a breakpoint defined in Theme UI. We’re just using two
here but there are four available by default.
We’re also going to use the fluid prop on the <Img /> component and pass it the fluid data from
props.embeddedImages.image(n).fluid
<Flex sx={{ flexWrap: 'wrap' }}>
  <Box sx={{ width: ['100%', '50%'] }}>
    <Img fluid={props.embeddedImages.image1.fluid} />
  </Box>
  <Box sx={{ width: ['100%', '50%'] }}>
    <Img fluid={props.embeddedImages.image2.fluid} />
  </Box>
</Flex>
et voilà! now you can display embedded images defined in frontmatter anywhere in your MDX. 😎